The Deep Ward Secret in League of Legends: Pro Warding Spots That Reveal Ganks Early
September 2, 2025

This article was created by STATUP.GG, a completely free AI-powered voice coaching platform that helps League of Legends players play smarter and more confidently.
In League of Legends, one of the most important factors that decides overall skill level is vision control. Simply placing more wards does not guarantee an advantage. The key lies in understanding when to ward, where to ward, and why a ward is placed.
In particular, predicting the enemy jungler’s path or gaining the upper hand in objective fights requires a solid understanding of best ward spots. This guide answers several key questions:
With in-game screenshots, examples of what champions are visible or invisible through wards, and real pro matches where vision plays decided the outcome, we will break down practical warding strategies. These cover everything from laning phase to roaming and objective timings, giving you a complete approach to vision control.
A good warding spot is ultimately a place that reveals as many enemy movement paths as possible. One of the highest-value locations is the C-shaped river bush near Dragon or Rift Herald, a classic example of an efficient League of Legends ward spot.
This ward position is valuable not only because it is close to key objectives, but also because it covers multiple crossing paths. It can reveal the enemy jungler, mid laner, bot laners, or even the support moving between lanes.
However, wards placed too close to the enemy side carry a high risk of being interrupted while you try to set them. Always check team positioning and the minimap before moving in for deep vision.
After updates to Summoner’s Rift, some bushes such as the mid-lane bush and the red-side bush became longer. A ward placed only at the entrance can no longer give full vision.
As seen in a match between Gen.G and T1, a shallow bush ward failed to reveal a champion at the edge, which resulted in a game-changing play.

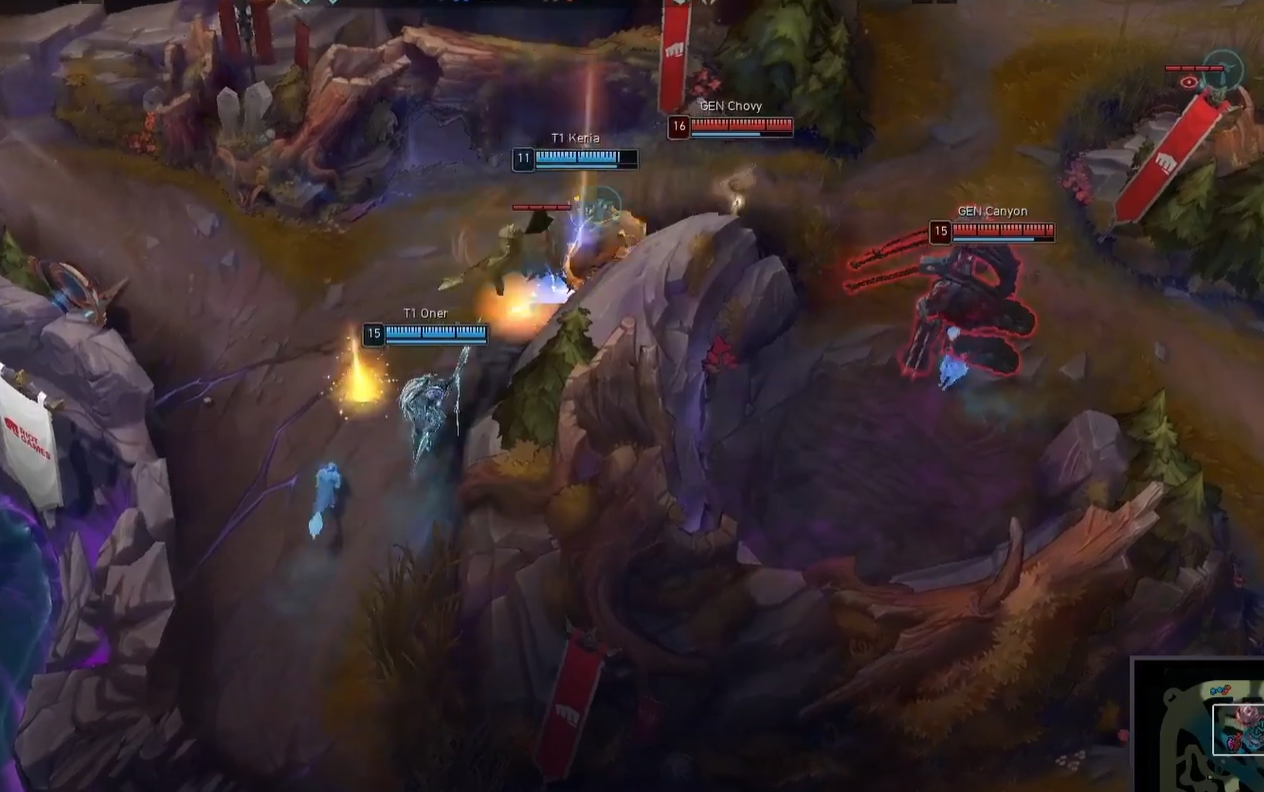
In the example above, Gen.G relied on a bush ward and became careless, which allowed Alistar to engage with a Flash + WQ combo and win the fight. This shows why any control ward inside a bush must be placed deep enough to reveal the entire area. Since Alistar’s W is a targeted ability, the WQ combo cannot be used without proper vision.

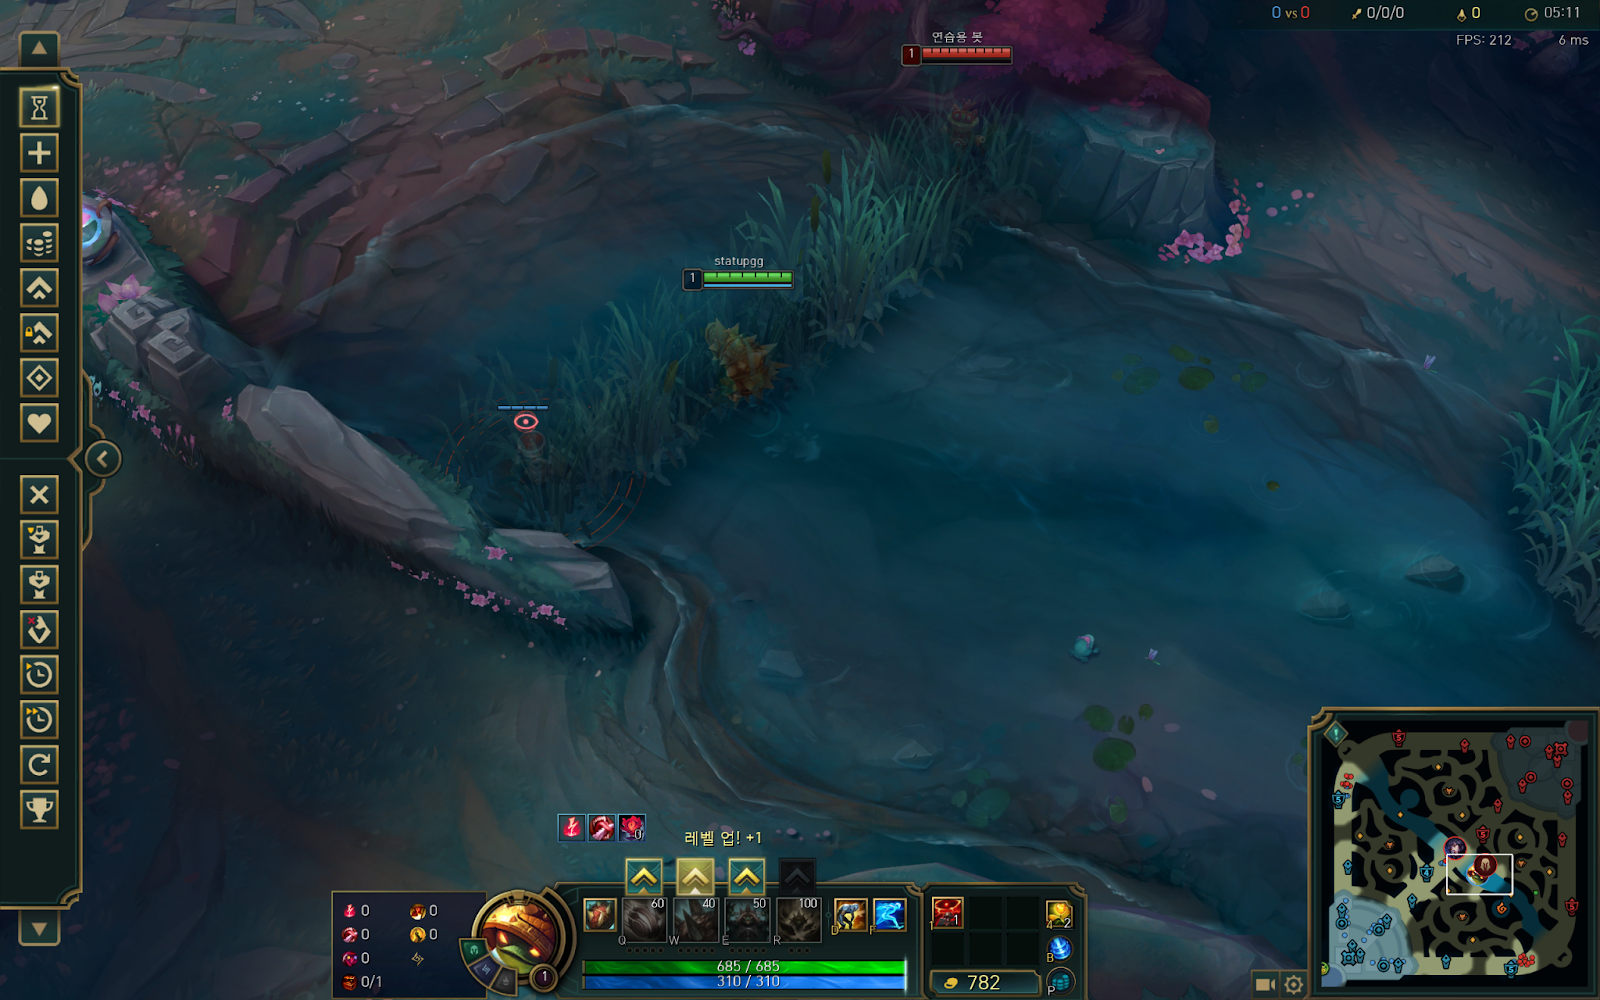
The same applies to the straight mid-lane bush. A ward placed only at the edge will not reveal ganks or engages coming from the far side. To ensure full vision coverage, the ward must be placed deep enough to reach the end of the bush. If you are not using smart-cast, you can check the warding range before placing it.
As explained in Section 2, bush wards need to be placed deep. This in turn opens up alternative warding spots that exploit that tendency.
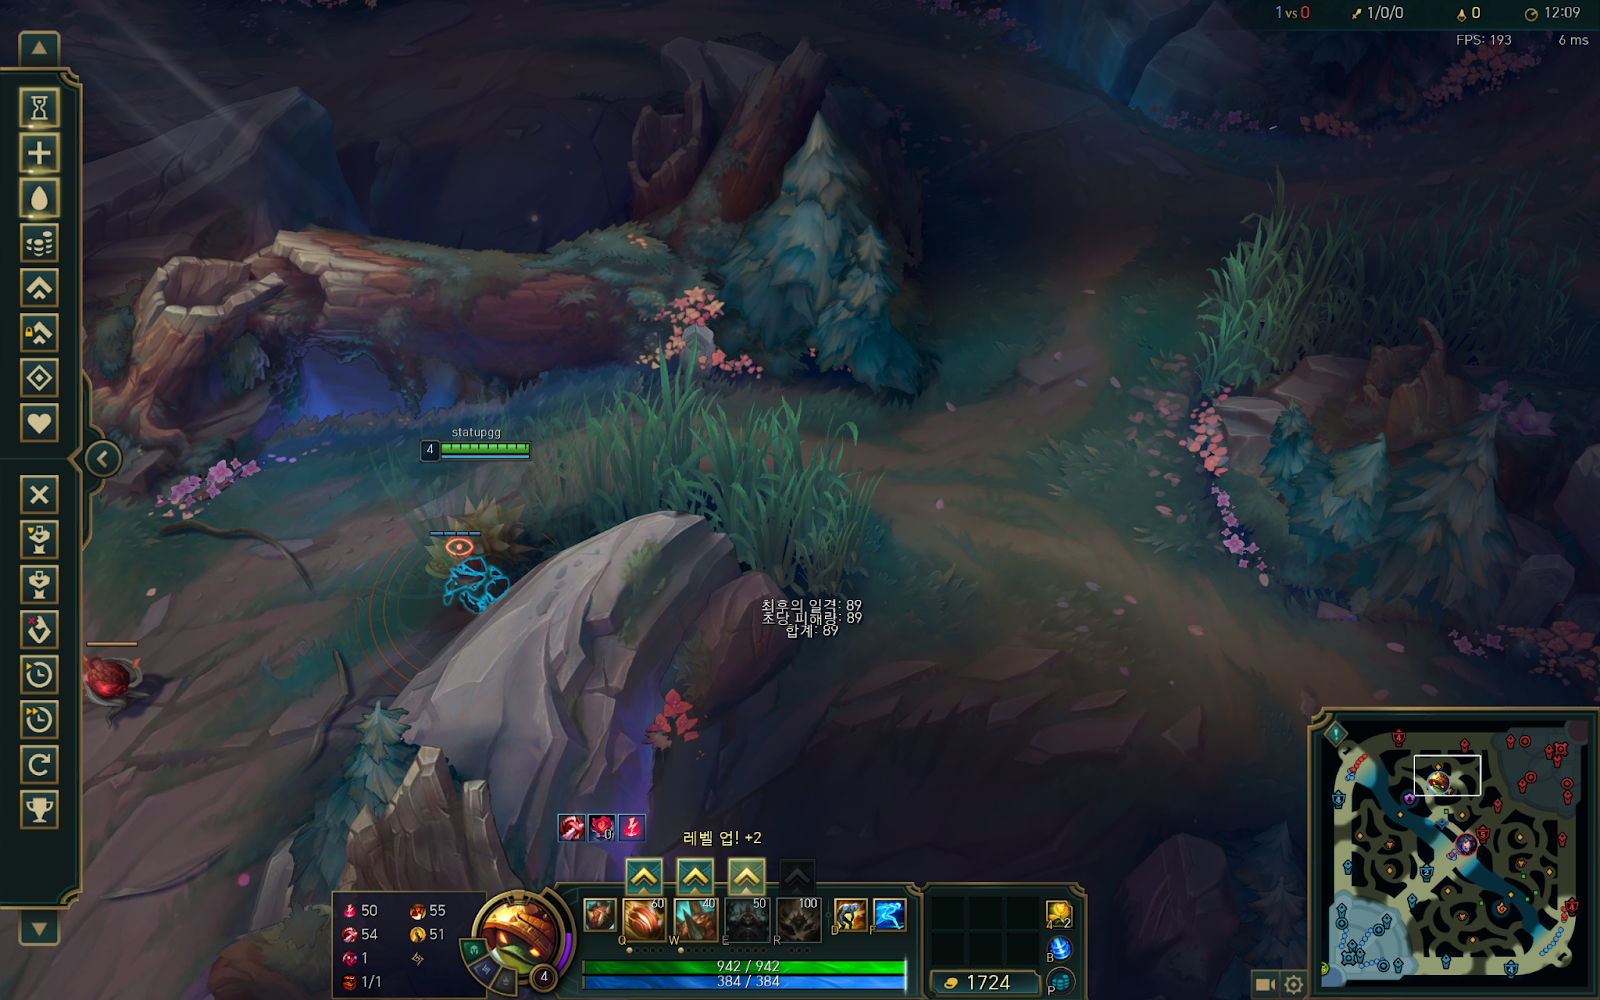
Since teams try to check the inside of a bush, they often place wards inside the bush. This creates blind spots.


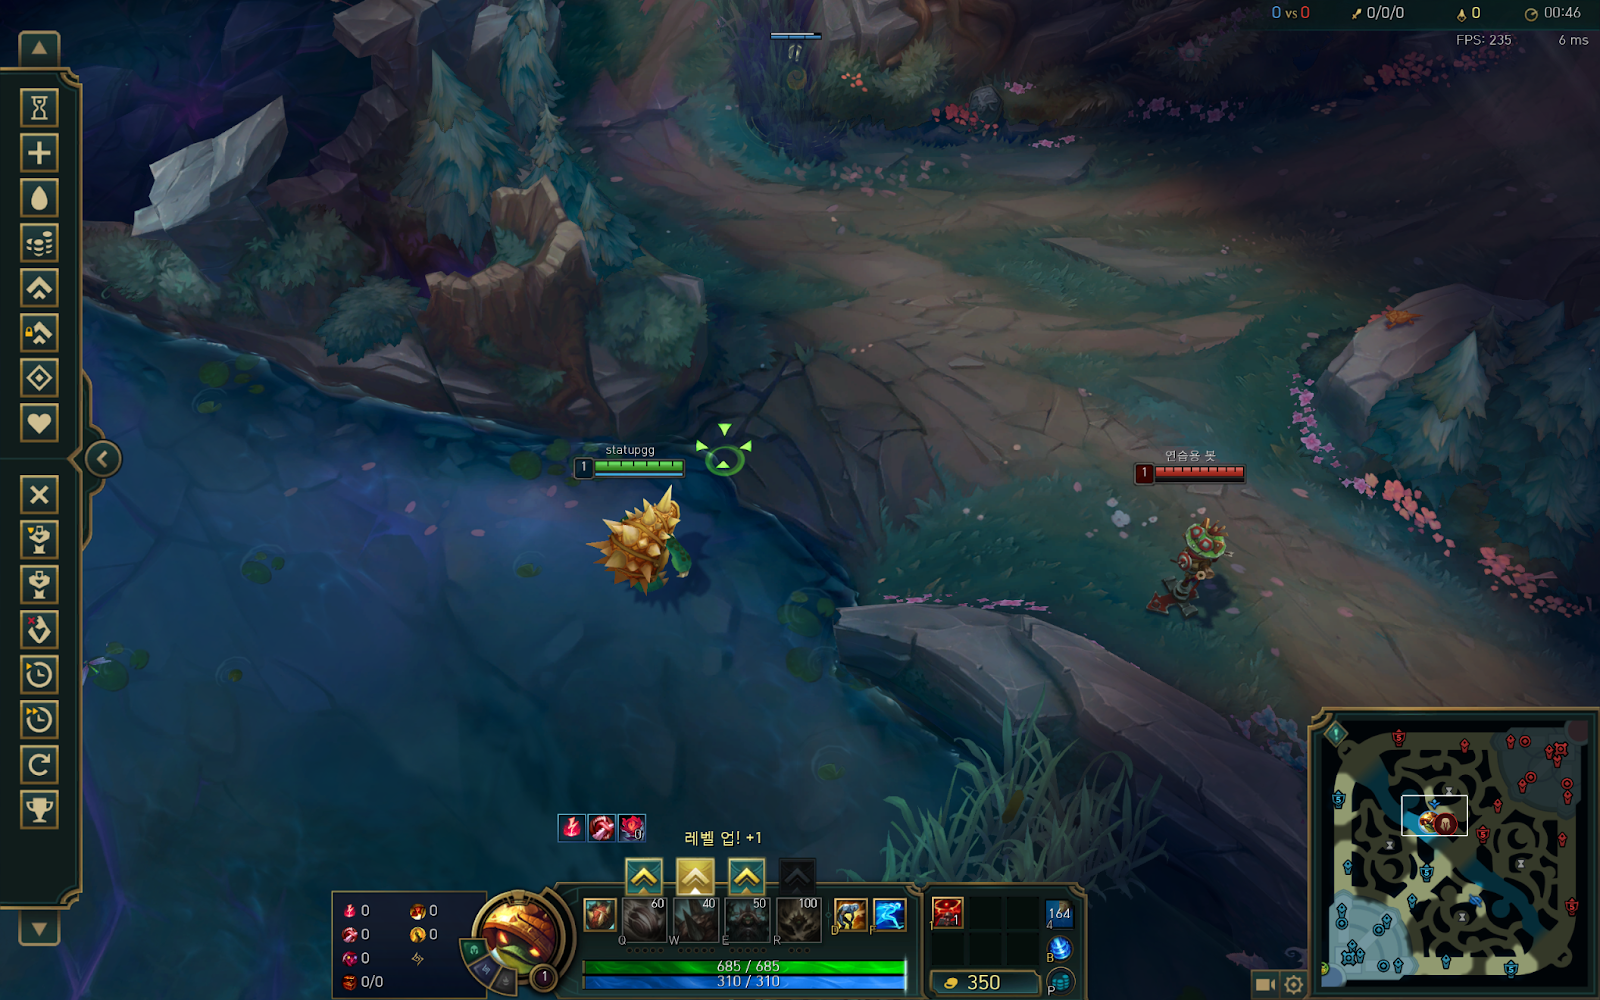
As shown in the image, wards placed in the red-side bush near mid cannot detect a ward set across the straight mid-lane bush. Champions and wards at that spot, such as the scarecrow in the picture, remain hidden.
This makes the location highly effective in the mid game for predicting enemy jungle movement. It covers both a common path and a vision blind spot, making it an ideal warding point.

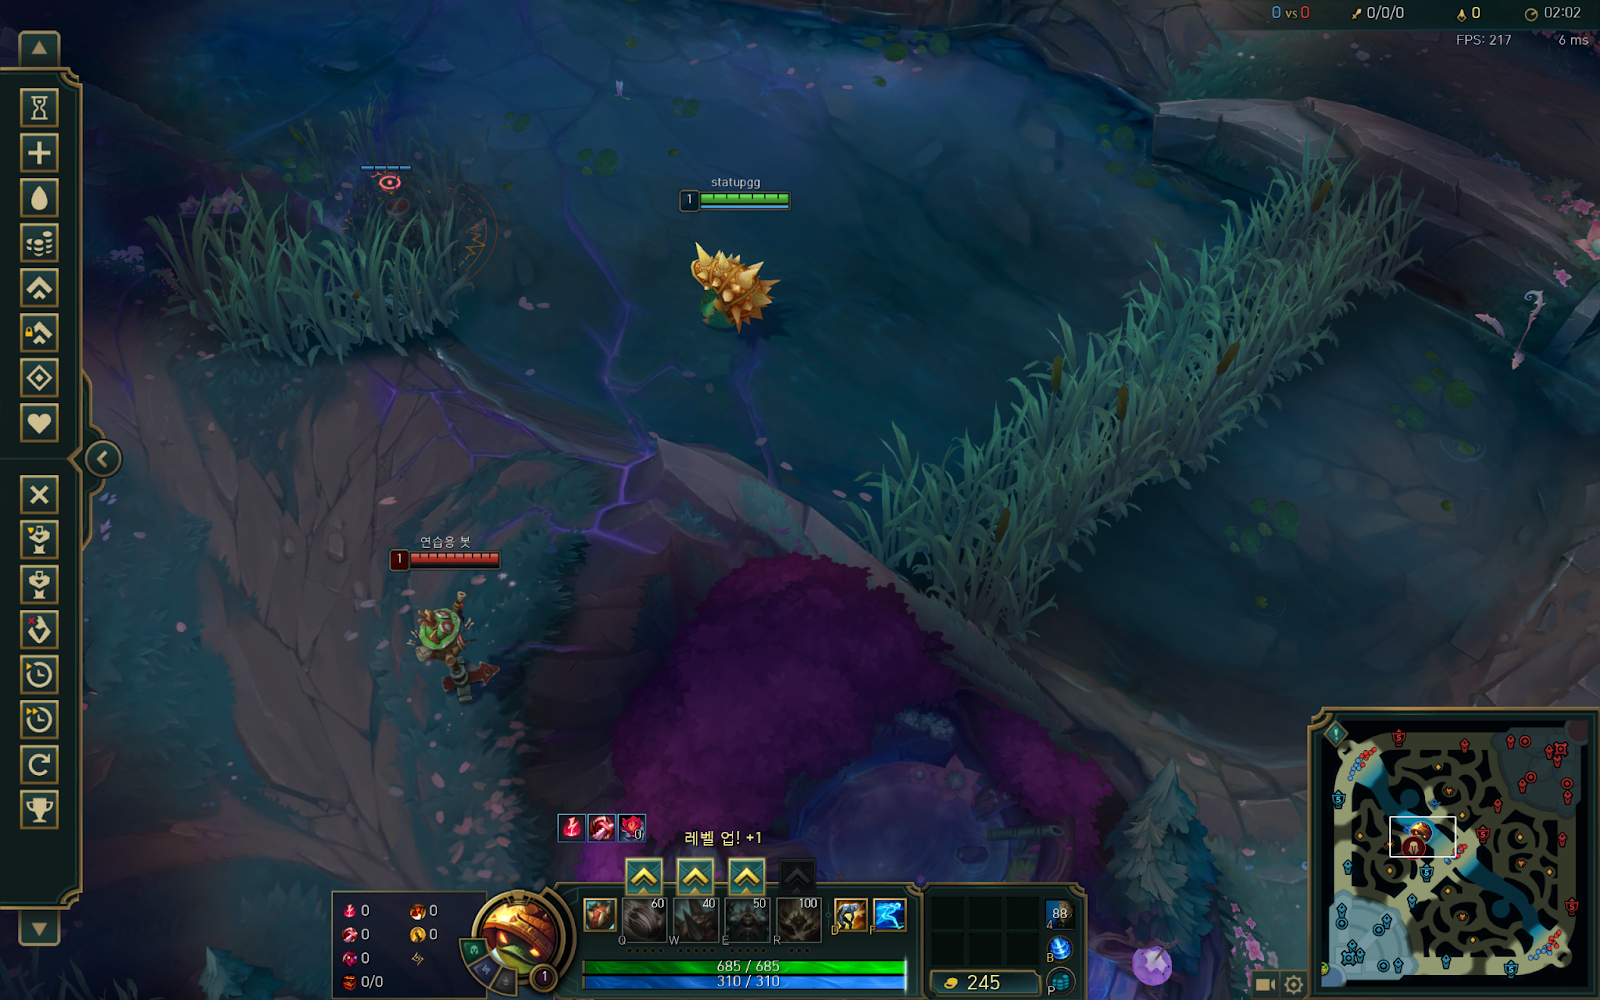
The first difference, though small, is noticeable in real games: structural vision advantage during early invade situations.

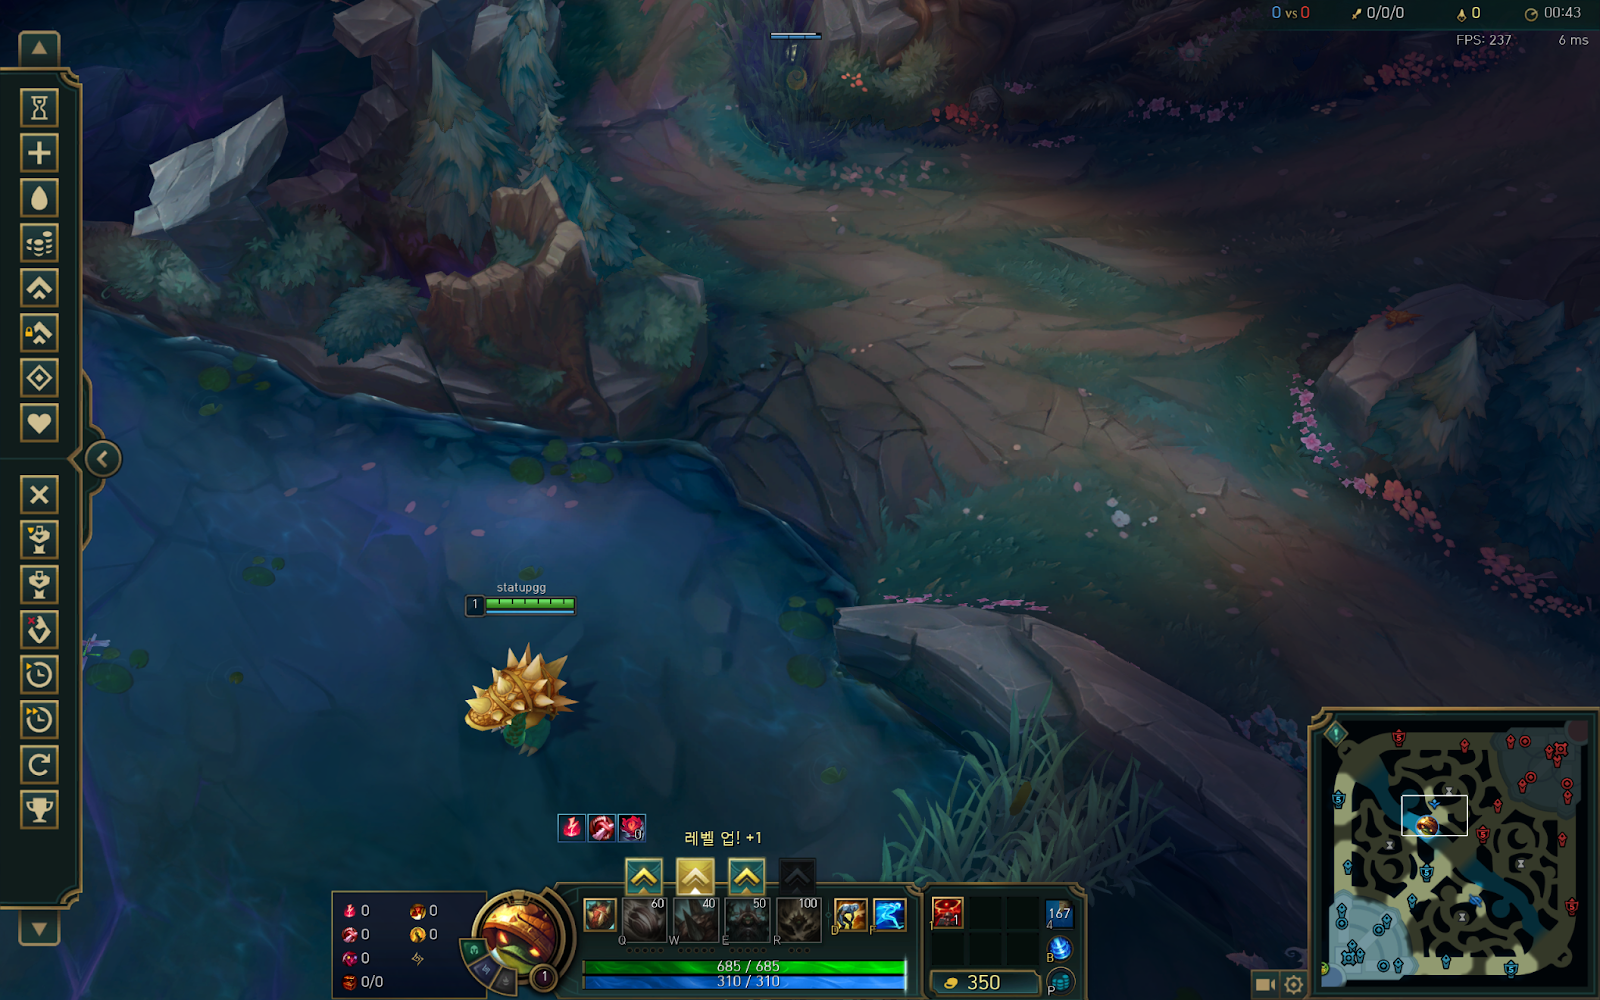
As shown in the image, if the blue side waits in the bottom bush and the enemy enters, the escape route is not straight. This shortens the distance and often forces the use of a mobility spell or dash.

In contrast, the red side can retreat in a straight line in the same situation. As soon as they spot the enemy, they have a structural advantage that allows immediate escape.
The second factor is the location of the Scryer’s Bloom (Crystal Scout).


On blue side it spawns at 3:00, while on red side it spawns at 3:30.
In long lanes like top and bot, lane priority can swing heavily in the early game depending on wards and jungle pressure. On the red side, the Scryer’s Bloom allows wards to be cleared after 3:30, which increases the chance of jungle ganks between 4 and 8 minutes (League of Legends timing guide).
On the other hand, the blue side’s Scryer’s Bloom is farther away, so it provides little to no lane vision advantage in the early game.
Found this helpful? Try STATUP.GG for completely free real-time voice coaching in-game.
Questions or feedback? Email us anytime at contact@gamerrepublic.gg
STATUP.GG provides real-time AI Voice Coaching for League of Legends. Improve every game by playing smarter, reacting faster, and learning as you play with STATUP.GG.

